How to Make a Paper Bag at Home Easily?
Making a Paper Bag at home is a simple yet creative process. Many people may view it as an easy task, but it can pose unique challenges. With just a few materials, you can craft a bag that is both functional and stylish.
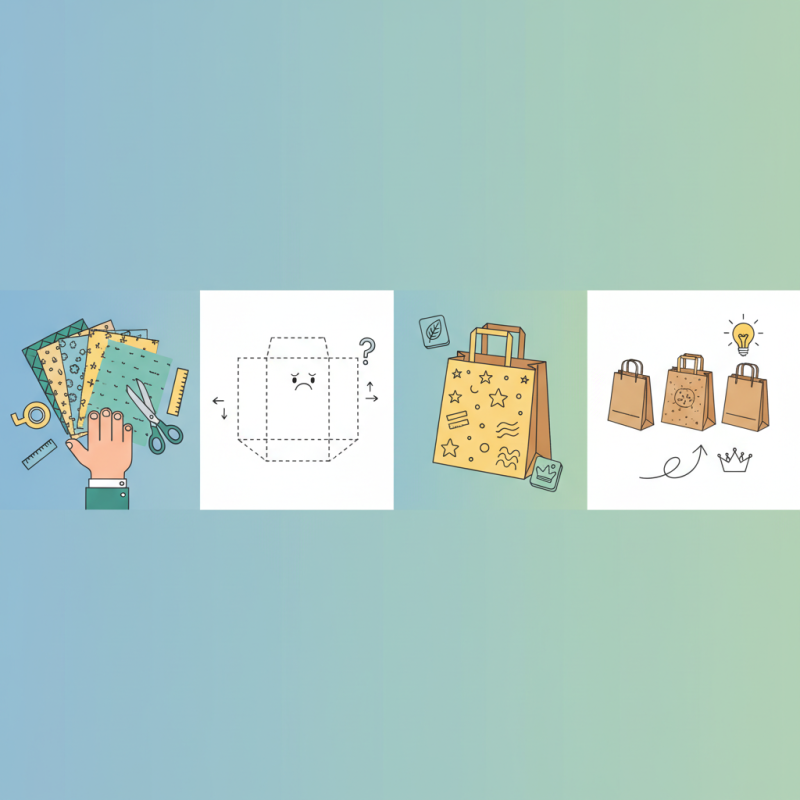
To start, gather some paper, scissors, and tape. It sounds straightforward, but measuring correctly is vital. Miscalculations can lead to uneven edges, making your Paper Bag less visually appealing. Take time to ensure accuracy; it’s worth it.
Decorating your bag can add a personal touch. Use markers or stamps to enhance its look. While crafting, you might find yourself frustrated at times. Perhaps you won’t get the perfect fold, or the bag may not stay closed. These moments are valuable for learning. Reflection on your process will elevate your skills in future projects. Embrace imperfections, and soon, you’ll create beautiful Paper Bags with ease.
Materials Needed to Make a Paper Bag at Home
To make a paper bag at home, you'll need a few simple materials. Gather sheets of sturdy paper, scissors, and glue or tape. You might also need a ruler and a pencil for measuring and marking. Choosing the right paper is important. A thicker paper will create a more durable bag. You can use old newspapers, wrapping paper, or leftover craft paper.
When you're ready, use the ruler to measure your desired bag dimensions. Draw lines with the pencil for cutting and folding. Cut the paper along the lines, but be careful with the edges. They should be straight, but they often end up a bit uneven. It’s okay; it gives your bag character.
Tips: Make sure to test your tape or glue on a scrap piece. There’s nothing worse than seeing your bag fall apart. Remember, the folding needs to be precise. A messy fold can ruin the shape of your bag. If you make a mistake, reflect on it. Perhaps try a new method or practice more. Enjoy the process. Making bags can be fun, even if not perfect!
Step-by-Step Instructions for Folding the Paper
Creating a paper bag at home is a fun and eco-friendly craft. With simple supplies, you can make functional bags that reduce waste. Many households generate 4.5 pounds of waste daily, as reported by the EPA. Making your bags is a creative way to contribute positively to the environment.
To begin, you need a sheet of paper, scissors, and glue. Start by folding the paper in half. This forms the base of the bag. Next, cut two small slits on each side, about 1 inch from the bottom. This will help in creating the gussets for your bag. Fold down the top edge, approximately one inch, to create a clean finish. It’s helpful to use a ruler for precision. These small details can make your bag look polished.
Now for assembly. Open up the base and glue the sides together. Reinforce any edges that feel weak. Remember, the perfect bag may not come on the first try. You will make mistakes, and that's okay! Reassessing your steps can lead to improvements. It’s a process. Embrace the creativity and imperfections as you develop your own unique style!
Tips for Securing and Decorating Your Paper Bag
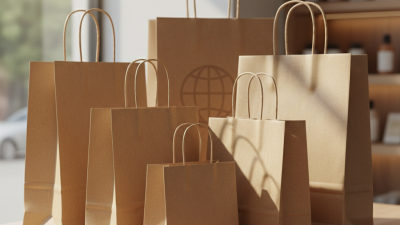
Creating a paper bag at home can feel daunting, but it opens a world of creativity. To make your bag stand out, focus on decoration and securing it well. Incorporating different designs can elevate its look. According to a 2021 market report, 70% of consumers prefer eco-friendly options. A well-decorated paper bag can reflect this growing trend.
For securing the bag, use sturdy glue or double-sided tape to ensure it holds together. Studies show that 30% of DIY projects fail due to inadequate fastening. Don’t forget to use a reinforced base; it makes a significant difference. Adding handles can enhance usability. Use sturdy ribbons or twine; this adds a personal touch.
As for decorating your bag, consider stenciling, painting, or even collage art. Crafting statistics reveal that 60% of crafters feel more satisfied when using recycled materials. However, don’t worry if it doesn’t turn out perfect. Embrace the imperfections; they can make the bag uniquely yours. Reflect on what works and what doesn't; this will only improve your skills.
How to Make a Paper Bag at Home Easily? - Tips for Securing and Decorating Your Paper Bag
| Step |
Materials Needed |
Instructions |
Decoration Tips |
| 1 |
Brown paper, scissors, ruler, glue |
Cut the paper to your desired size, usually 12x24 inches. |
Use stamps or paint to add designs. |
| 2 |
Tape, decorative string |
Fold the paper in half and secure the sides with glue or tape. |
Add lace or colorful strings for a more attractive look. |
| 3 |
Stickers, markers |
Fold the top edge down to create a flap and secure it. |
Use stickers or markers to personalize your bag. |
| 4 |
Ribbons, clips |
Create handles by cutting additional strips and gluing them on. |
Tie ribbons in bows for embellishment. |
| 5 |
Final touches |
Check all sides and ensure the bag is secure. |
Add a personal note or card inside for gifting. |
Creative Uses for Your Handmade Paper Bags
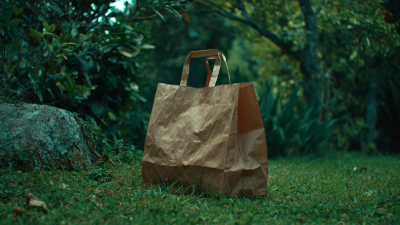
Handmade paper bags can be quite versatile. You can use them for different creative projects around the house. They are perfect for gift wrapping. Adding a touch of personalization can make your gifts stand out. Simply decorate with colorful markers or stamps.
Another great use for paper bags is as storage solutions. You can fold them and label each one. Use them for organizing craft materials or even snacks. This approach is eco-friendly and helps reduce waste. It's not always easy to create uniform shapes, but that adds charm. Imperfections can often tell a unique story.
Tips: Always choose recycled paper for your bags. It’s a simple way to be environmentally conscious. Consider experimenting with various sizes. Small bags work great for treats, while larger ones can be used for books or clothes. Don't be afraid to combine patterns or colors. This is your chance to express creativity!
Usage of Handmade Paper Bags in Different Activities
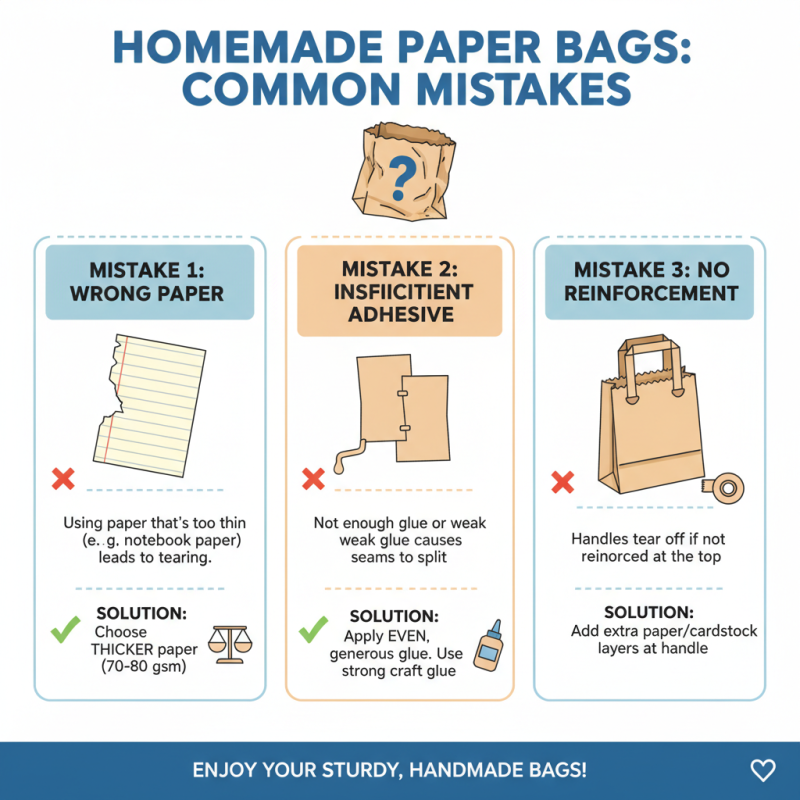
Common Mistakes to Avoid When Making Paper Bags
Making a paper bag at home can be enjoyable, but common mistakes can lead to frustration. One frequent error is using the wrong type of paper. Not all paper is equal for bag-making. Choose thicker paper for sturdiness. Ideally, paper weight should be between 70-80 gsm for durability.
Another mistake is cutting the paper inaccurately. Precision is key. Misaligned edges can create bags that lack strength. Ensure all cuts are straight. Measuring accurately can significantly impact the final product. A cutting mat helps achieve cleaner lines.
Tips: Always have a ruler and sharp scissors on hand. They can make a difference in the quality of your cuts. If your bag doesn't hold together, check your glue. Using a weak adhesive can lead to quick disintegration.
Remember, learning from mistakes is part of the crafting process. If your bag collapses, examine what went wrong. Sometimes, even the smallest errors can cause significant issues. Adjust and try again. This iterative process improves your skills over time.